
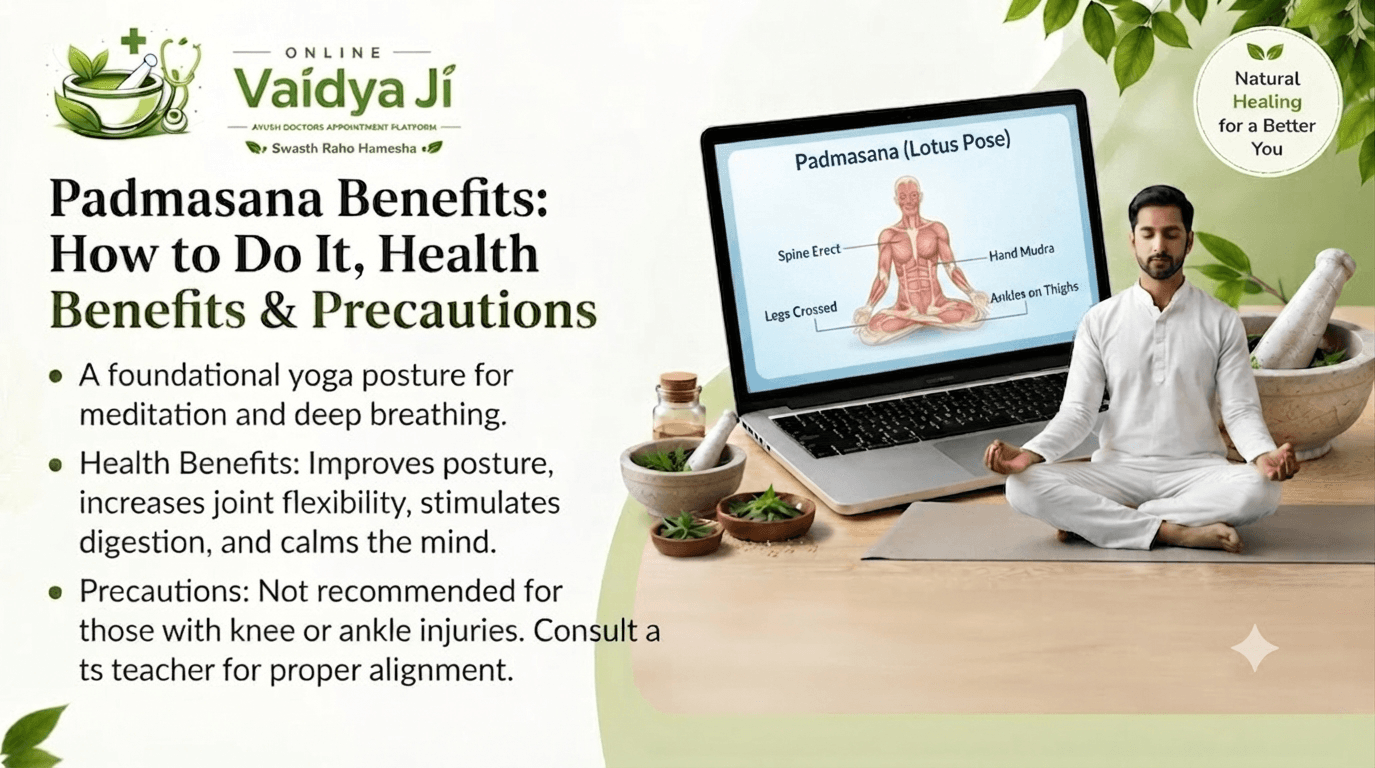
The incredible benefits of padmasana (Lotus Pose) have made it one of the most revered and iconic postures in traditional hatha yoga and meditation practices for centuries. Whether you are a beginner looking to improve your flexibility or an experienced practitioner deepening your spiritual routine, understanding what is padmasana and how to practice it safely can profoundly impact your physical and mental well-being.
Practicing padmasana yoga regularly does more than just quiet the mind; it unlocks a wide range of therapeutic advantages for your spine, digestion, and nervous system. In this comprehensive guide, we will explore everything you need to know about padmasana yoga benefits, step-by-step instructions, essential precautions, and padmasana steps and benefits to elevate your daily practice.
What is Padmasana?
benefits of padmasana, commonly known as the Lotus Pose, is a cross-legged seated meditation posture in yoga where each foot is placed on the opposite thigh, promoting deep mental calmness and spinal alignment.
To fully appreciate the benefits of padmasana, it helps to understand its origins. The word comes from the Sanskrit terms Padma (meaning lotus) and Asana (meaning posture or seat). As you settle into the pose, your folded legs resemble a blooming lotus flower floating gracefully on water.
Historically designed for prolonged meditation, this posture anchors the body firmly to the ground while encouraging an upright, alert spine. It is widely regarded as one of the best stable seats for pranayama (breath control) and deep mental concentration.
Step-by-Step Guide: How to Perform Padmasana Safely
Mastering the correct alignment is essential to protect your knees and ankles while maximizing the benefits of padmasana. Follow these steps to perform the posture correctly:
- Sit Tall: Sit comfortably on your yoga mat with your legs extended straight out in front of you (Staff Pose or Dandasana).
- Bend the Right Knee: Gently bend your right knee, grab your foot with both hands, and cradle it over your left thigh. Try to bring the sole of your foot facing upward, with your heel resting close to your navel (half lotus position).
- Fold the Left Leg: Slowly bend your left knee and lift your left foot, placing it gently over your right thigh. Both soles should now be facing upward, and your feet should lock snugly into the hip creases.
- Align Your Spine: Keep your spine erect, shoulders relaxed, and chest open. Rest your hands on your knees in either Chin Mudra (index finger touching the thumb) or Jnana Mudra.
- Breathe Deeply: Close your eyes, soften your facial muscles, and take slow, deep breaths, maintaining awareness of your posture.
Read More Blog : Padmasana and variations
Top Health Benefits of Padmasana
Regular practice of padmasana benefits practitioners by enhancing core stability, improving lower-body flexibility, reducing menstrual discomfort, and calming the nervous system.
Integrating padmasana benefits into your wellness routine delivers remarkable holistic advantages for both body and mind. Here are the primary therapeutic outcomes backed by yogic tradition and modern movement science:
- Improves Posture and Core Strength: Holding the Lotus Pose requires active engagement from your back muscles, naturally correcting slouching and strengthening your spinal alignment.
- Enhances Blood Circulation: The cross-legged configuration directs a rich flow of blood to the pelvic region, lower abdomen, and spine, stimulating internal organs and improving digestion.
- Calms the Nervous System: Deep rhythmic breathing combined with a stable seated base signals the brain to lower cortisol levels, easing anxiety and mental fatigue.
- Relieves Menstrual Cramps: Regular practice keeps pelvic muscles flexible and toned, helping to alleviate menstrual discomfort and regulate reproductive health.
- Increases Joint Flexibility: Padmasana deeply stretches the ankles, knees, and hip joints, increasing overall range of motion in the lower extremities.
Comprehensive Overview: Padmasana Steps and Benefits
| Aspect | Details & Description |
| Primary Focus | Mental stability, spinal alignment, and lower-body flexibility |
| Key Target Areas | Hips, knees, ankles, pelvis, and core muscles |
| Best Time to Practice | Early morning on an empty stomach |
| Notable Padmasana Benefits | Lowers stress, enhances digestion, improves concentration, and tones pelvic organs |
Precautions and Contraindications
While the padmasana benefits are extensive, the Lotus Pose is an advanced hip-opener that places significant torque on the knees. If not practiced mindfully, it can lead to injury.
- Knee or Ankle Injuries: If you have chronic knee pain, a torn meniscus, or an ankle injury, avoid full Padmasana. Opt for Ardha Padmasana (Half Lotus) or Easy Pose (Sukhasana) instead.
- Do Not Force: Never force your feet into position if your hips are tight. Flexibility develops gradually over weeks and months of consistent stretching.
- Consult an Expert: Beginners should practice under the guidance of a certified yoga instructor to ensure proper alignment and prevent joint strain.
Conclusion
Incorporating padmasana benefits into your daily wellness routine is a powerful way to bridge physical vitality and mental tranquility. By honoring your body’s current limits, practicing correct alignment, and staying consistent, you can unlock the full potential of this classic posture. Embrace the journey, breathe deeply, and experience the centering transformation of the Lotus Pose.
Frequently Asked Questions (FAQs)
What are the main benefits of padmasana for beginners?
The primary benefits of padmasana for beginners include improved posture, enhanced mental focus, increased hip flexibility, and better blood circulation throughout the lower spine and pelvic region.
Can I practice padmasana yoga every day?
Yes, practicing padmasana yoga daily for 5 to 10 minutes can greatly improve your seated posture and mental calm. However, stop immediately if you feel sharp pain in your knees or ankles.
Is padmasana safe for people with knee pain?
No, full Padmasana is generally not recommended for individuals with existing knee injuries or chronic pain, as it puts intense rotational pressure on the knee joint. Modified seated poses are a safer alternative.
How long should I hold the Lotus Pose?
Beginners can start by holding the pose for 30 seconds to 1 minute, gradually working up to 5 minutes or longer as flexibility and comfort improve.